
OEM and ODM in one table
| ODM | OEM | |
|---|---|---|
| Who designs the product | Factory | You, or you with factory support |
| Housing mould | Existing factory mould | New mould or modified insert, usually charged |
| What you change | Logo, colour, packaging, plug, voltage, LED mix | Geometry, optics, driver, battery, everything |
| Tooling cost | Usually none beyond print and packaging | Quoted per mould, often the largest upfront item |
| Time to first shipment | Shortest | Longest, because of tooling and sample approval |
| Best for | Testing a market, catalogue breadth, private label | A product you intend to defend and scale |
The five stages of a sample-based custom program
Stage 1 — sample intake
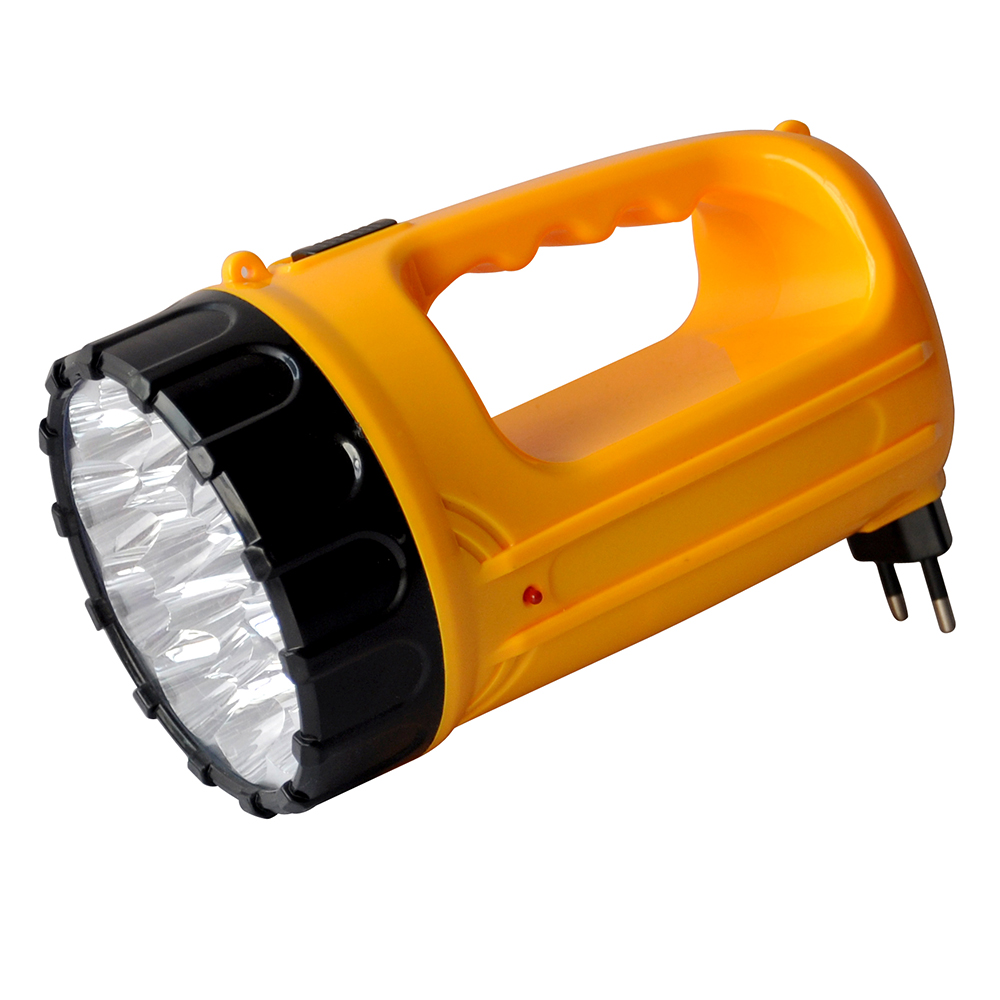
You send a physical unit, a dimensioned drawing, or a 3D file. A physical unit is the most useful: it shows wall thickness, switch feel, beam pattern and the way the plug folds. Photographs alone are not enough to quote tooling.
Stage 2 — teardown and quotation
The factory strips the unit and evaluates four subsystems: the LED and optics, the driver board, the battery pack, and the charging plug. The output is a quotation covering tooling, unit price at stated quantities, MOQ and lead time — with the assumptions written down, because a price without assumptions cannot be compared.
Stage 3 — tooling
Housing tools, plug inserts, and any print cylinders or packaging dies are cut. Ask for the tooling list with each line priced separately: a single lump sum hides which part is expensive and makes later changes harder to negotiate.
Stage 4 — pre-production samples
Samples come off the new tool. Test the things a datasheet cannot tell you: switch travel, beam uniformity at three metres, charging time from empty, plug retention, and how the surface finish survives a drop. Approve in writing with photographs and a sealed reference unit.
Stage 5 — mass production
Production runs against the approved sample. Insist on the same LED bin, the same battery supplier and the same pack welding process. Pre-shipment inspection should include a function test on every unit, not a sample of ten.
What actually drives tooling cost
- Housing complexity: slides and lifters for undercuts, which is where a "simple" torch becomes an expensive tool.
- Insert count: a housing that shares one tool across three models costs less per model than three separate tools.
- Surface finish: a textured or soft-touch finish needs a different tool finish and more trial shots.
- Plug type: a fold-out plug needs its own insert and a retention test.
- Packaging: printed boxes need plates or cylinders; a printed manual needs a separate plate.
The LED count is not a major cost driver at this scale. Buyers are often surprised that moving from 7 LEDs to 15 LEDs changes the unit price far less than adding a fold-out plug or changing the housing finish.
Who owns what
| Asset | Usual arrangement | What to put in writing |
|---|---|---|
| Housing mould | Client-paid tooling is normally client property | Mould ownership clause, plus the right to request the tool |
| Artwork and logo files | Client | Factory may not reuse your artwork for other buyers |
| Print films and cylinders | Often charged to client | Who stores them, and what happens if you change supplier |
| Product design rights | Depends on who designed it | State whether the design is exclusive to you and for how long |
What the factory needs from you to quote
- A sample, drawing or 3D file — one of the three, preferably the sample.
- Target market, because plug standard, voltage and retail language follow from it.
- Target landed price or target retail price, so the specification can be engineered to it.
- Order quantity for the first run and the annual estimate, since both move the unit price.
- Packaging intent: neutral box, printed retail box, blister, or display carton.